In this guide, we’ll walk through how to expose your self-hosted web services to the internet using a clean and secure setup. We’ll start by revisiting the custom Docker networks from the previous tutorial, then get Zoraxy up and running as our reverse proxy alongside Cloudflare DNS with DDNS.
NOTE
If you haven’t set up custom Docker networks yet, I recommend reviewing the previous blog post, as this setup assumes your services are already segmented across networks.
From there, we’ll connect and route services across our Docker networks, secure everything using Cloudflare Origin Certificates, and as a bonus, explore Cloudflare Tunnels as an alternative approach for exposing services without opening ports on your network.
Preparation
Before we start exposing services to the web, it’s important to plan which containers we want accessible, why they need exposure, and which custom Docker networks they live on. This ensures we don’t accidentally open sensitive services to the WAN and keeps your setup secure and organized.
Laying Out the Plan
Ask yourself:
- Which services truly need exposure on the WAN?
- Which can stay LAN-only or internal to a network?
- Are there sensitive services that should never be directly exposed?
In my setup, I only expose services that require consistent remote access. Everything else stays internal.
Here’s a quick breakdown:
- Techmedia
- Jellyfin
- Audiobookshelf
- Techdownload
- None exposed — these act as backend services for request handling and media organization
- Techweb
- Bambuddy
- Gitea
- TechVault
- Vaultwarden
- Zerobyte
Not every container in your stack needs to be accessible from the WAN. Exposing only what’s necessary keeps your network secure, reduces your attack surface, and simplifies routing.
Here’s the thought process I use when deciding what to expose:
- Remote Access Needs
Only expose services that you or trusted users need to access outside your LAN.- Vaultwarden → secure password access anywhere
- Nextcloud → file access off-network
- Jellyfin / Audiobookshelf → media streaming remotely
- Backend / Supporting Services
Many containers are purely internal and don’t benefit from WAN exposure.- Radarr, Sonarr, JDownloader → operate behind the scenes, so no need to have remote access - we will use Seer to facilitate this instead.
- Databases → should almost never be exposed, and arguably shouldn’t be exposed to the lan except for troubleshooting purposes.
- Level of Sensitivity
Critical services should never be directly exposed.- Vaultwarden, Zerobyte remain isolated on techvault
- Access is handled through the reverse proxy instead - for Zerobyte we will lock it down with Cloudflare Access - this will be explored in a later post,
- Frequency of Use
If you rarely need remote access, it’s usually safer to leave the service internal.
By following this approach, you can maintain a complex internal stack while only exposing a minimal, controlled surface to the outside world.
Now that we have a clear understanding of what should (and shouldn’t) be exposed, we can start preparing our containers and networks for reverse proxying with Zoraxy.
Execution
Step 1: Deploy Zoraxy
Since our host operating system is Unraid, head over to the Community Applications repository and install the Zoraxy template by zoraxydocker.
Open the template and make the following adjustments:
- Set Network Type to
Custom: eth0(or whichever interface you are using)
This gives the container its own IP address on your LAN, making it easier to identify on your router for port forwarding.
IMPORTANT
If port forwarding isn’t an option for your setup, we’ll explore alternatives later.
Most other settings can remain unchanged for now.
Step 2: Assign a Static MAC Address
To ensure your router always assigns the same IP to the container, we need to set a static MAC address.
Start the container once, then run:
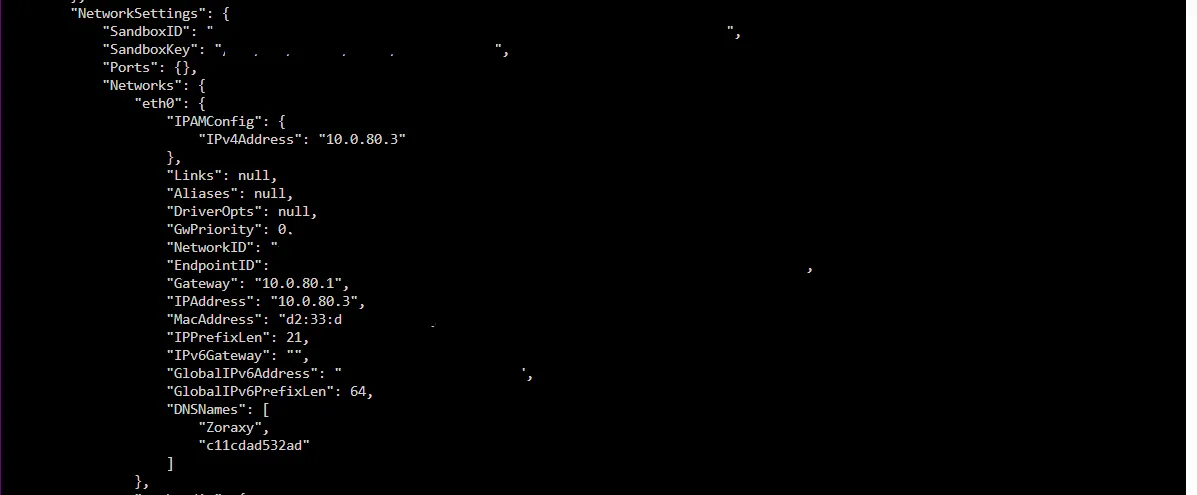
docker inspect Zoraxy | grep -i macaddress
You should see something like this:
Copy the MAC address and return to the container configuration.
Enable Advanced View, then under Extra Parameters, add:
—network=eth0 —mac-address=AA:AA:AA:AA:AA:AA —restart=unless-stopped
--mac-addressensures the container keeps a consistent IP--restart=unless-stoppedensures it recovers automatically if it crashes
Step 3: Connect Zoraxy to Your Docker Networks
Now we need Zoraxy to communicate with the services we want to expose.
Under Post Arguments, add:
&& docker network connect techmedia Zoraxy && docker network connect techvault Zoraxy && docker network connect techweb Zoraxy
This allows Zoraxy to reach containers across multiple custom networks.
Apply your changes.
You should now see multiple IP addresses assigned—one for each network.

Step 4: Initial Zoraxy Setup
Navigate to the container from your browser:
http://<container-ip>:8000
Log in and set your credentials.
Then configure the following:
- Inbound Port →
443 - Enable Use TLS to serve proxy requests
- Under Advanced Settings, set minimum TLS version to 1.3
- (Optional) Enable Development Mode if you prefer no caching
Step 5: Configure Certificates (Cloudflare Origin)
In your Cloudflare dashboard:
- Go to SSL/TLS → Origin Server
- Click Create Certificate
Use:
- RSA (2048)
- Hostnames:
*.yourdomain.comyourdomain.com
Cloudflare will generate:
- An Origin Certificate
- A Private Key
Back in Zoraxy:
- Navigate to TLS/SSL Certificates
- Select Paste Certificate
- Paste both values into their respective fields
This enables encrypted traffic between Cloudflare and your reverse proxy.
WARNING
Origin Certificates are only trusted by Cloudflare, meaning they cannot be used for direct public access—but they are ideal when all traffic is proxied through Cloudflare. If your ISP uses CGNAT, port forwarding will not work—skip ahead to the Cloudflare Tunnel section instead.
NOTE
If you prefer Let’s Encrypt, you can configure that later once proxy rules are in place.
Step 6: Configure DDNS (Cloudflare)
Install the cloudflareddns container by hotio.
Modify the template:
- Set Network Type →
Container (Zoraxy) - Add to Extra Parameters:
--restart=unless-stopped
This ensures the DDNS container shares the same network context as Zoraxy—important for accurate IP detection, especially with IPv6.
Create Cloudflare API Token
In Cloudflare:
- Go to Manage Account → API Tokens
- Click Create Token
- Use the Edit Zone DNS template
- Scope it to your domain
Copy the token.
Configure the Container
Set the following:
CF_APITOKEN→ your API tokenCF_HOSTS→*.yourdomain.com,yourdomain.com
Enable:
UPDATE_IPV4=trueUPDATE_IPV6=trueStart the container.
You should now see DNS records update automatically whenever your WAN IP/Global IPV6 IP changes.
Step 7: Router Configuration
Now configure your router:
- Set a DHCP reservation for the Zoraxy container
- Create a port forwarding rule:
- External Port:
443 - Internal Port:
443
- External Port:
This allows HTTPS traffic from the internet to reach your reverse proxy.
Router interfaces vary, so adjust these steps as needed for your setup.
Step 8: Creating Proxy Rules
Now we can expose services.
In Zoraxy:
- Navigate to Create Proxy Rules
Example configuration:
-
Domain / Matching Rule →
documents.yourdomain.com -
Target →
paperless-ngx:8000
Zoraxy will:
- Route traffic to the container
- Apply SSL Origin Certificate automatically
- Keep communication internal to Docker networks
No LAN port exposure is required for the service itself.
Final Result
At this point:
- Your services are reachable via domain names
- Traffic is encrypted end-to-end
- Containers remain isolated within their networks
- Only Zoraxy is exposed to the WAN
Bonus - Cloudflare Tunnels
For those that wish to not expose ports, or those who are cursed with CGNAT - we can utilize Cloudflare Tunnels. Unlike port forwarding, tunnels initiate an outbound connection to Cloudflare—no inbound ports are required on your network.
In order to do this we will need to spin up the official docker container. Let’s head back over to the Community Apps Repository and let’s select CloudflaredTunnel from Cornflake’s repository as they use the official docker container.
From here we will hold for right now and head back over to our cloudflare dashboard and get a tunnel token. To get to the more preferred dashboard - we will want to go to Zero Trust > Networks > Tunnels and click Create Tunnel from here our type is Cloudflared and let’s give our tunnel a name and hit save tunnel. Now under Operating System we will click docker and get a large command - we want to take a chunk of this to put in our docker container template - take the token parameter and everything after it and copy it
--token longtokenafterword
Under Post Arguments in your tempate after -no-update run
put in your token command and run the container. You should now see this tunnel online in your cloudflare dashboard. From here we have two options - we can stick with Zoraxy and pipe it all through here, or we can connect the isolated custom docker networks to the tunnel and reference the services we want proxied.
For Zoraxy - we would simply go over to our tunnel’s settings inside cloudflare dashboard (remember to go through via zero trust as the other way doesn’t show as many options).
Now we will click Published application routes and use Add a published application route
In here with Zoraxy the configuration is pretty easy. We will put in the subdomain and domain of our choice for the service, and the service will be https - the URL will be https://zoraxysipaddress
Repeat this process for each subdomain or root domain service you’ll use.
Now - should you want to skip Zoraxy all together (more on why you shouldn’t in a minute).
Let’s give CloudflaredTunnel the same networks as our zoraxy container. Go into editing the CloudflareTunnel container and feed in the same networks in extra parameters, for me that’s going to be the following:
&& docker network connect techmedia CloudflaredTunnel && docker network connect techvault CloudflaredTunnel && docker network connect techweb CloudflaredTunnel
Now instead of directing Cloudflare to the reverse proxy - we will take the same principle we used in Zoraxy earlier and point directly to the services inside the custom networks. So for me in my paperless instance we would set the subdomain the same, but then the Service would be http and the URL would be http://paperless-ngx:8000
Cloudflare will then hand off everything directly to the container webservice. Now that caveat mentioned earlier - Since you are tunneling all of your traffic through Cloudflare (this also goes for anything proxied through Cloudflare) - all of this traffic will be viewable by Cloudflare. Whether you are willing to accept this is entirely your decision. For me personally I find the trade off worth the convenience factor. One thing I will also note certain applications that may be more sensitive to latency may not work as well across tunnels. Personally I use a hybrid of both reverse proxy and Cloudflare tunnels across my various services.
## Conclusion
By now, you should have a fully functional and secure method for exposing your self-hosted services to the internet.
We started by carefully planning which services actually needed WAN exposure, keeping the attack surface as small as possible. From there, we deployed Zoraxy as a reverse proxy, connected it across multiple Docker networks, and used Cloudflare Origin Certificates to ensure encrypted communication between the edge and your infrastructure.
With DDNS in place, your domain stays pointed at your home network even as your public IP changes, and with proper router configuration, all external traffic is funneled through a single, controlled entry point.
As a result:
- Your internal services remain isolated and organized
- Only one service (Zoraxy) is exposed to the internet
- Traffic is encrypted end-to-end
- DNS updates automatically with no manual intervention
We also explored Cloudflare Tunnels as an alternative approach—particularly useful if you’re behind CGNAT or prefer not to open ports at all. While tunnels offer convenience and simplicity, they come with trade-offs around latency and visibility of traffic through Cloudflare’s network.
What’s Next?
There are several ways you can continue improving this setup:
- Access Control
Integrate Cloudflare Access to add authentication in front of sensitive services. - Service Hardening
Add authentication, rate limiting, or IP restrictions at the proxy level. - Monitoring & Logging
Track access logs and detect unusual activity early. - Automated Certificates
Transition to Let’s Encrypt if you prefer fully automated certificate rotation. - High Availability (Advanced)
Run multiple proxy instances or introduce failover strategies.
With this foundation in place, you now have a flexible, scalable, and secure way to publish services from your homelab—without sacrificing control over your internal network.